


How to adjust the light path of the CO2 laser tube?
Laser tube optical path adjustment is a problem that many laser equipment users will encounter. Most laser equipment uses a flying optical path system. The laser is emitted from the laser tube (laser generator) and passes through three flat mirrors (reflector 1 #, reflector 2#, reflector 3#), finally focused by the focusing lens and shot out to the worktable. No matter where the light comes from, the principle is the same.
Why adjust the light path of the CO2 laser tube?
Long-term operation of the laser equipment, if the reflector is loose, will cause the laser light path to shift, making the laser unable to output from the jet cup mouth, resulting in vertical cutting, slow cutting speed and other problems, making the laser equipment unable to perform its best performance. Affect production efficiency. Therefore, it is very necessary to check and adjust the optical path regularly.
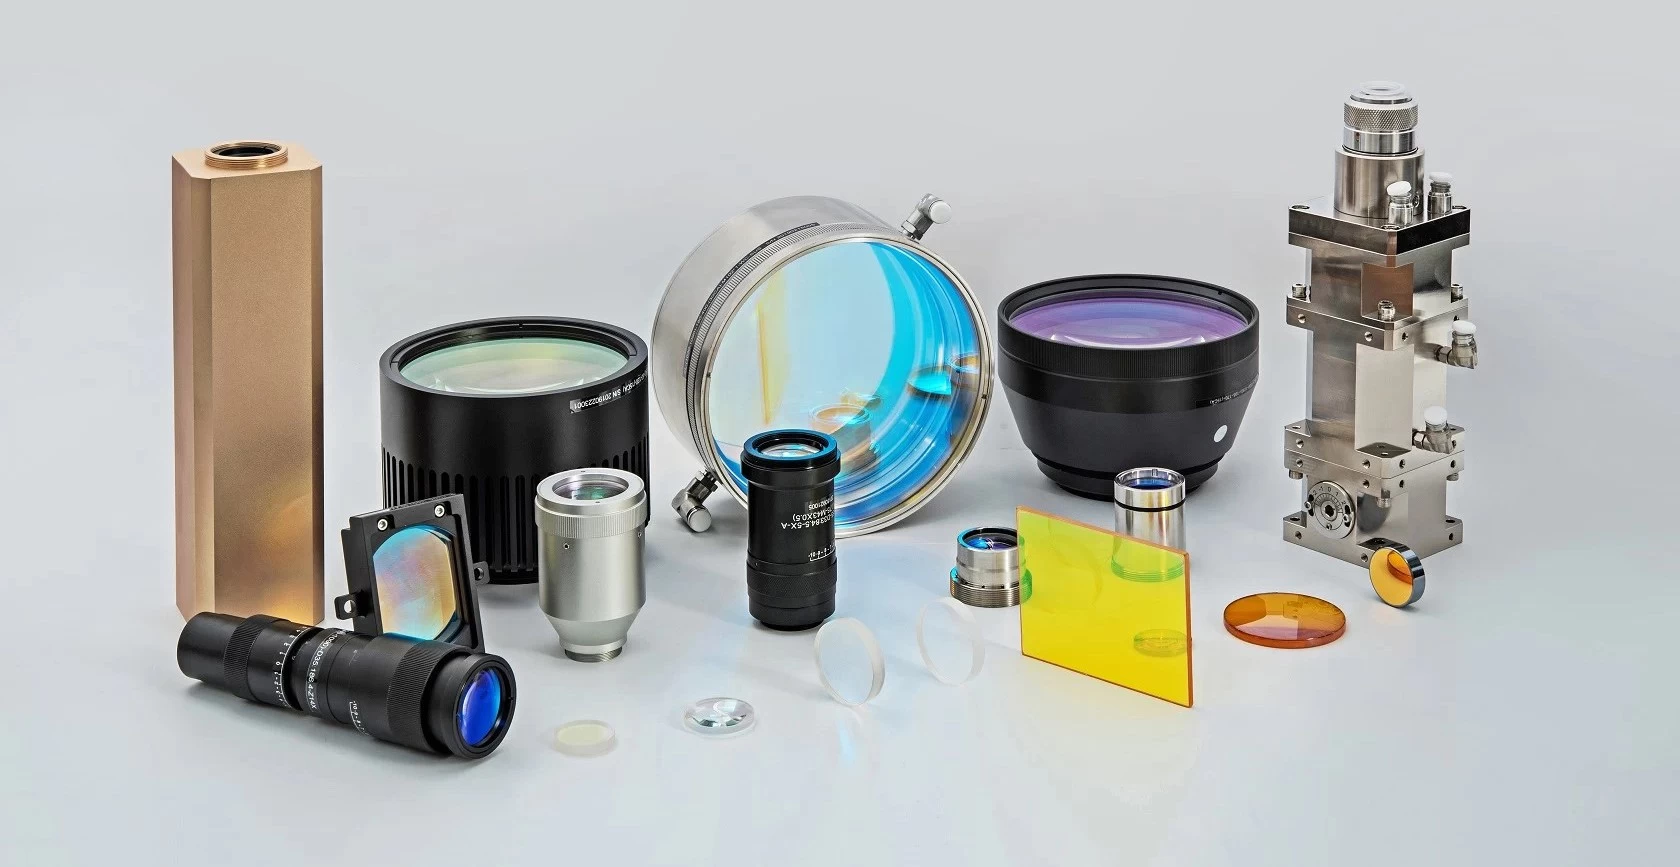
Znse Beam Combiner Company China
Steps to adjust the light path of the CO2 laser tube
Step 1: Adjust the current of the CO2 laser tube and reduce the power of the laser tube.
Step 2: Adjust the optical path from the laser generator to the mirror 1#
1. Ensure that the light beam emitted from the laser tube is incident on the 1# reflector;
2. Glue more than 3 layers of double-sided adhesive paper together, and cover the mirror 1#;
3. After the double-sided adhesive paper is glued, press the button on the control panel, and the laser will mark a mark on the double-sided adhesive paper. This point can be at the center of the reflector.
Step 3: Adjust the light path of mirror 1# to mirror 2#
1. Tear off the double-sided adhesive tape pasted on the mirror 1# and stick it on the mirror 2#;
2. Gently move the beam forward and upward to the nearest position close to the reflector 1#, press the button on the control panel and place a mark;
3. Remember the mark at this time and keep the position of the double-sided adhesive tape in place. Using the mirror 1# as a reference, gently push the beam from near to far to the back and down, and perform multiple tests to observe whether the marks printed by the laser overlap. ;
4. If it does not overlap, adjust the angle of the lens by adjusting the three adjustment screws on the mirror frame 1# until the light spot hit on this road reaches the overlap.
Step 4: Adjust the light path of mirror 2# to mirror 3#
1. Tear off the double-sided adhesive tape pasted on the reflector 2#, and stick it on the reflector 3# (if the adjustment is too much, you can replace the double-sided adhesive paper);
2. Lightly move the beam to the left to the nearest position close to the reflector 2#, press the button on the control panel and mark it;
3. Remember the mark at this time and keep the position of the double-sided adhesive tape in place. Using the mirror 2# as the reference, slide the beam from left to right, and test multiple times to observe whether the marks printed by the laser overlap;
4. If it does not coincide, adjust the angle of the lens by adjusting the three adjustment screws on the mirror 2# frame until the light spots hit on this road reach the coincidence.
Step 5: Adjust the mirror 3# to the light path of the light entrance hole
Stick double-sided tape on the light entrance hole in front of mirror 3#, press the button on the control panel to mark it. If it is in the center, it is qualified. If they do not overlap, please use the above method to re-adjust the light path until they overlap.
Step 6:After the four points are adjusted to coincide, let's see if this point is in the center of the light entrance hole of the laser head? If not, please turn off the laser power and adjust the position of the laser tube. If it is a left-right shift, adjust which way to go.
For example, if you move to the left, adjust the laser tube to the left; if you move to the right, adjust the laser tube to the right. If it is up and down, adjust it in the opposite direction, that is, if it is up, adjust the laser tube down a bit; if it is down, adjust it up a bit. (The above adjustment is only for the negative tube (light emitting end) of the laser tube. If you want to adjust the positive end of the laser tube to achieve the same effect, the direction is the opposite.)
Precautions
1. The entire process of adjusting the light path should control the appropriate light intensity;
2. Do not stick double-sided adhesive tape on the reflector, but stick it to the cover on the side of the lens;
3. During the debugging process, it is necessary to pay attention that the lens is not polluted by smoke and dust, and do not hold down the firing button for a long time to avoid the smoke generated after the laser burns through the double-sided adhesive paper to blacken the reflective mirror, causing the laser reflection intensity to weaken;
4. In order to prevent laser radiation from hurting people, please use a piece of cardboard to test the approximate position of the light spot, and then adjust it;
5. During the whole process of adjusting the light path, the best position of the light spot must be in the center of the lens, and absolutely not at the edge. If it hits the edge, please continue to adjust the lens until it hits the center.
6. The laser is invisible light and has a direct harmful effect on the human body. Operators need to be careful when adjusting the light path. The operator must receive professional training before proceeding.