


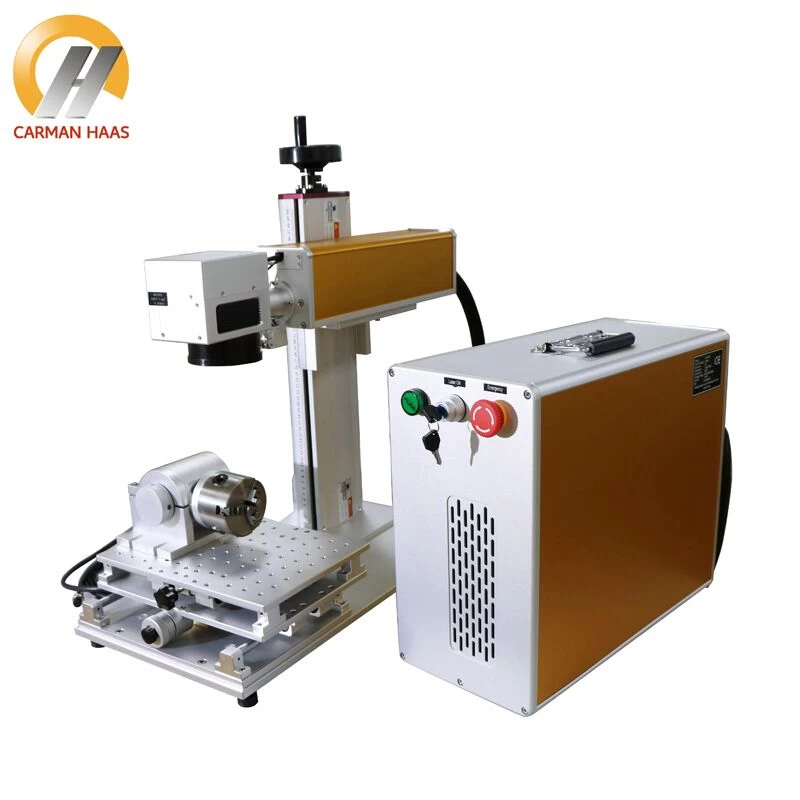
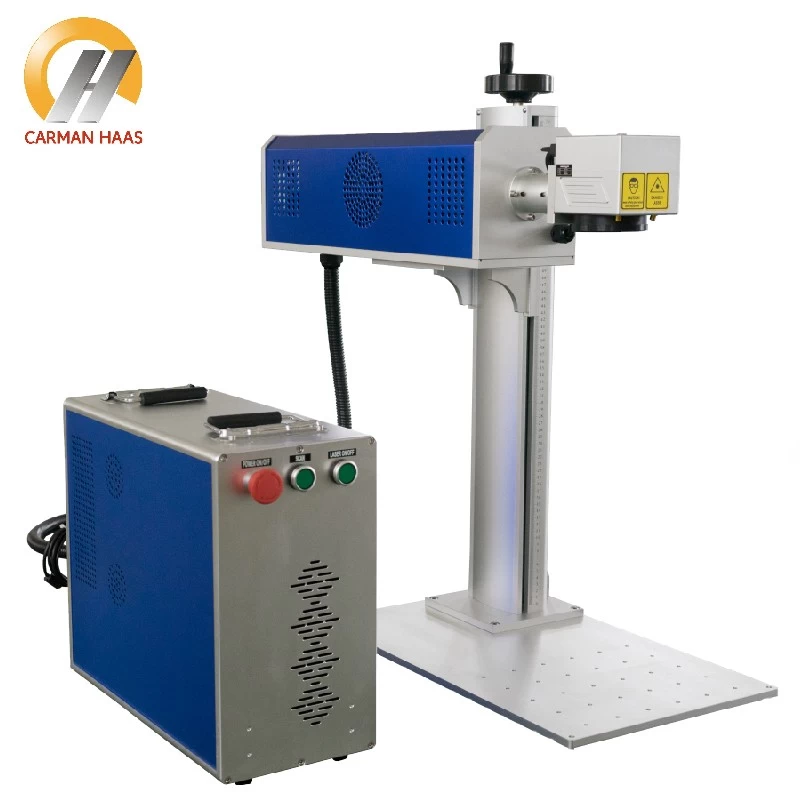
Optical path adjustment method of laser marking machine
After the laser marking equipment is maintained or replaced, the distance between the lens of the laser marking machine and the workpiece will change due to changes in the position, resulting in inaccurate focus. When the focus is inaccurate, because the focus of the laser is not aligned on the surface of the workpiece, the marking will be unclear.
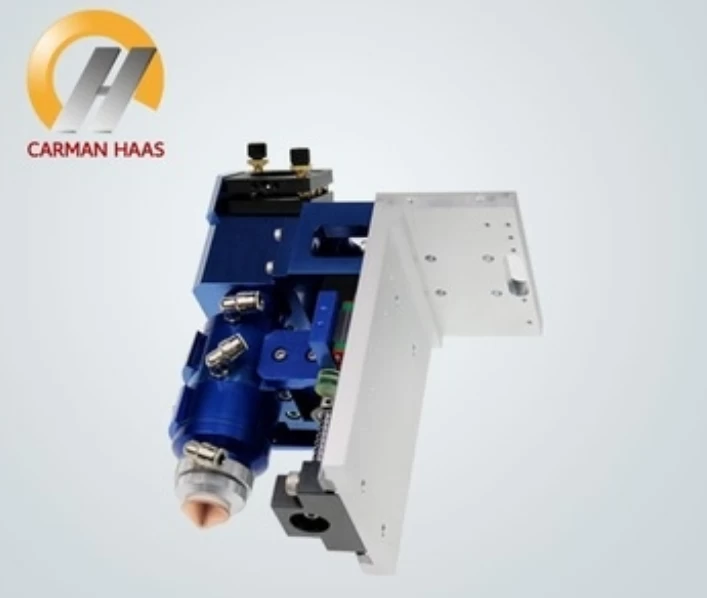
Autofocusy Fiber Laser Cutting Head
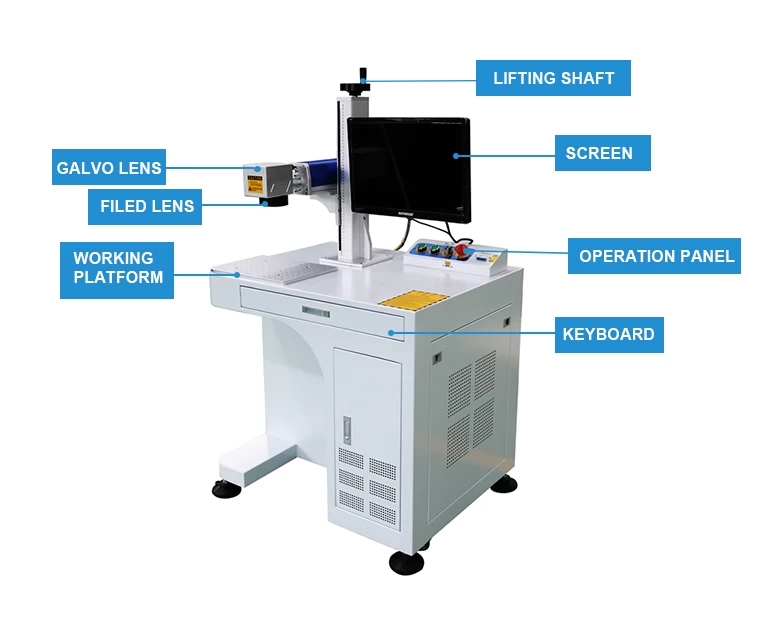
Autofocus principle of laser marking machine
The auto-focus laser marking machine realizes auto-focus marking through the visual positioning system, which can be completed without physically moving the workpiece or the laser marking machine. The focus can be adjusted automatically, even if there are slight differences in thickness, automatic tracking and marking can be achieved. Not only can the workload be reduced, but also the quality of product marking can be significantly improved, and the operation is simple and convenient.
The principle is based on the traditional marking machine, using a high-precision CCD camera to capture the current position of the product, and the position information of one or more products collected in real time is transmitted to the marking card through the computer in turn to achieve Precise marking.
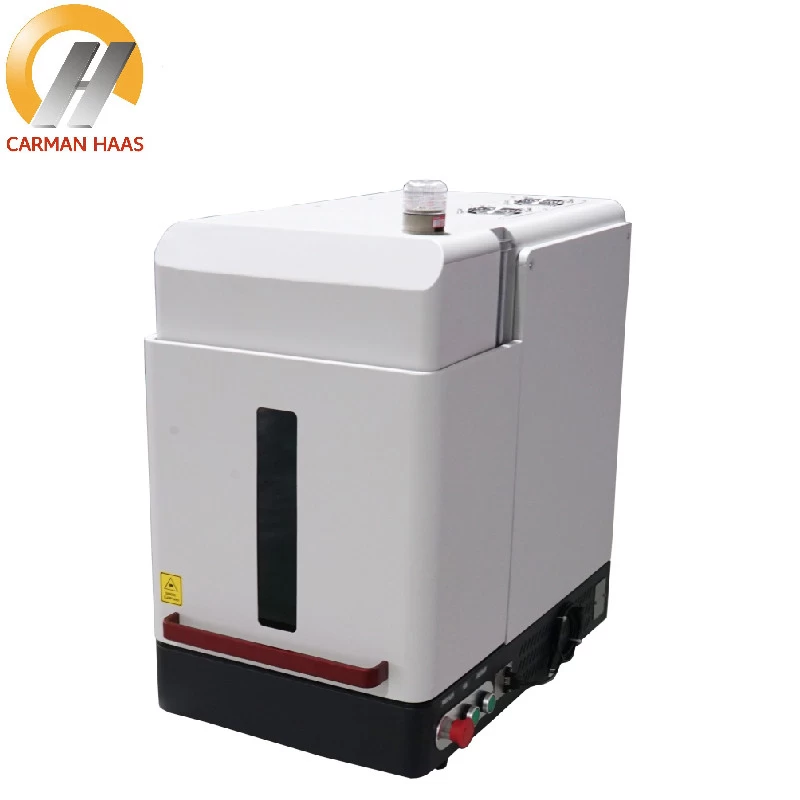
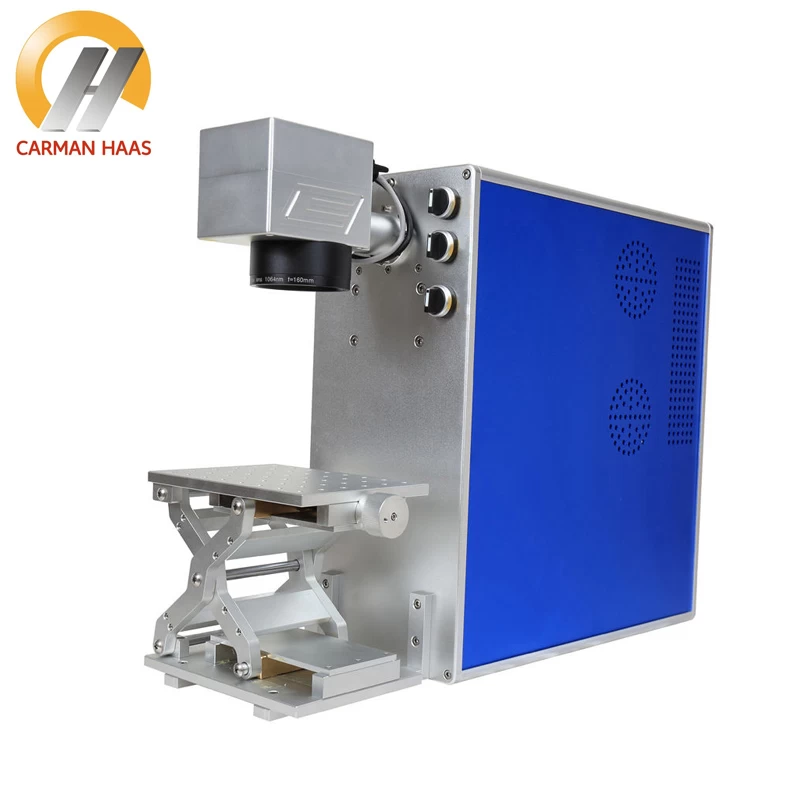
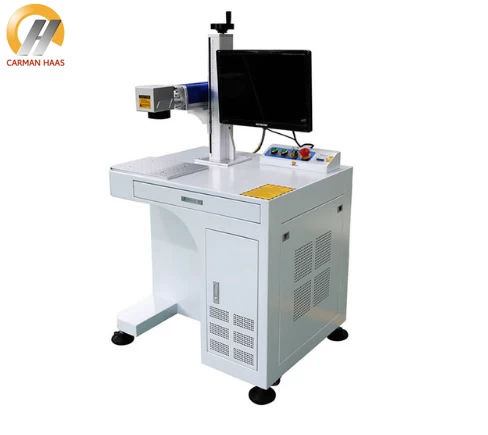
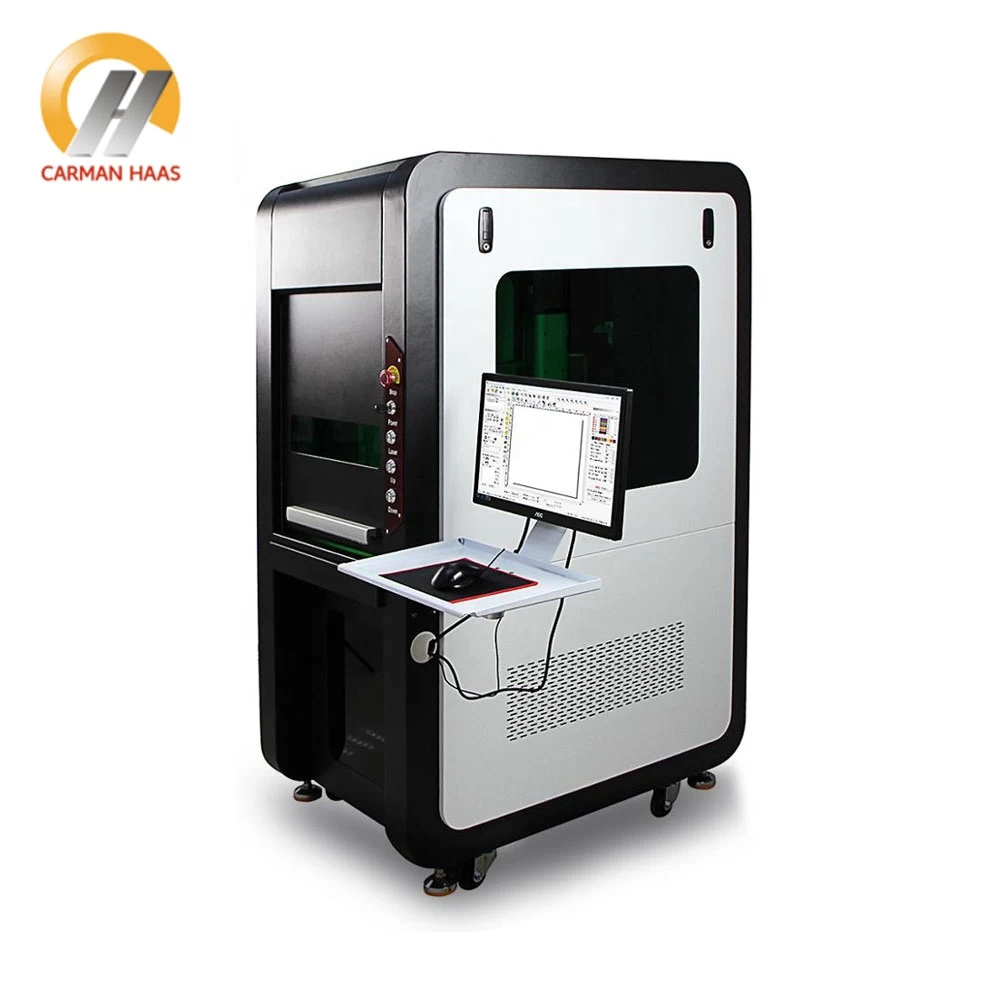
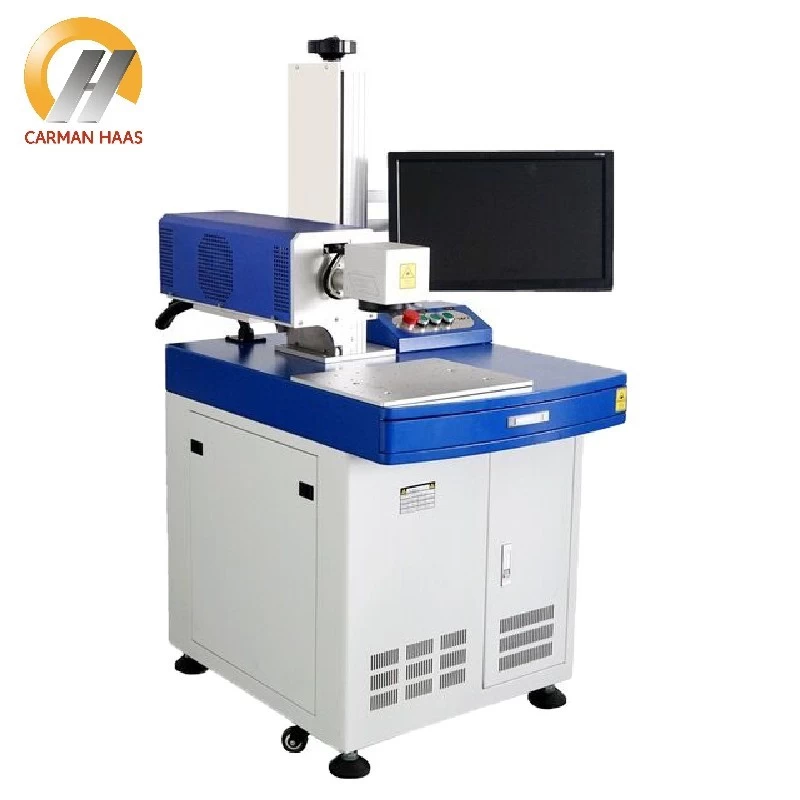
Laser Marking machine price china
Optical path adjustment method of laser marking machine
1. Turn on the laser marking machine and turn on the chiller, and wait for the real-time temperature of the chiller to be consistent with the set temperature before proceeding to the next step.
2. Remove the protective cover of the laser marking machine, turn off the laser and Q switch power supply.
3. Observe the red light output and feedback at this time with a dimming frequency doubler or white paper. It is advisable that the red light indicator screen has the roundest and brightest spot. If there are multiple red light spots, adjust the red light indicator to each adjustment nut of the beam expander in turn until the requirements are met.
4. Turn on the laser power and adjust the current to the range of 14~15A, preferably not more than 15A. Use a dimming frequency doubler to observe whether the laser output is the roundest and brightest spot in front of the laser.
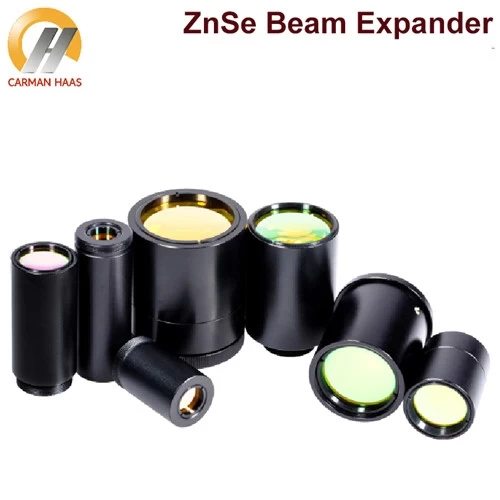
Variable Zoom Laser Beam Expanders
5. Place the frequency doubler on the beam expander and observe whether there is laser output. If not, slowly adjust the adjusting nuts, and adjust them in order until there is the brightest and roundest spot.
6. Decrease the current slowly, observe the intensity of the light spot of the frequency doubling film, and adjust the adjusting nut in turn until the light spot is the roundest and brightest.
7. Repeat step 6 for at least 4-6 times to get the roundest and brightest spot. At this time, the current should be less than 10A, preferably not more than 12A.
8. To observe the intensity of the laser spot, you can also slightly increase the current to fine-tune the adjustment nut until the strongest spot is obtained.
9. Turn on the Q switch and perform trial engraving. (The trial engraving parameters are normal marking parameters.) If the light intensity meets the requirements, the adjustment is complete.