


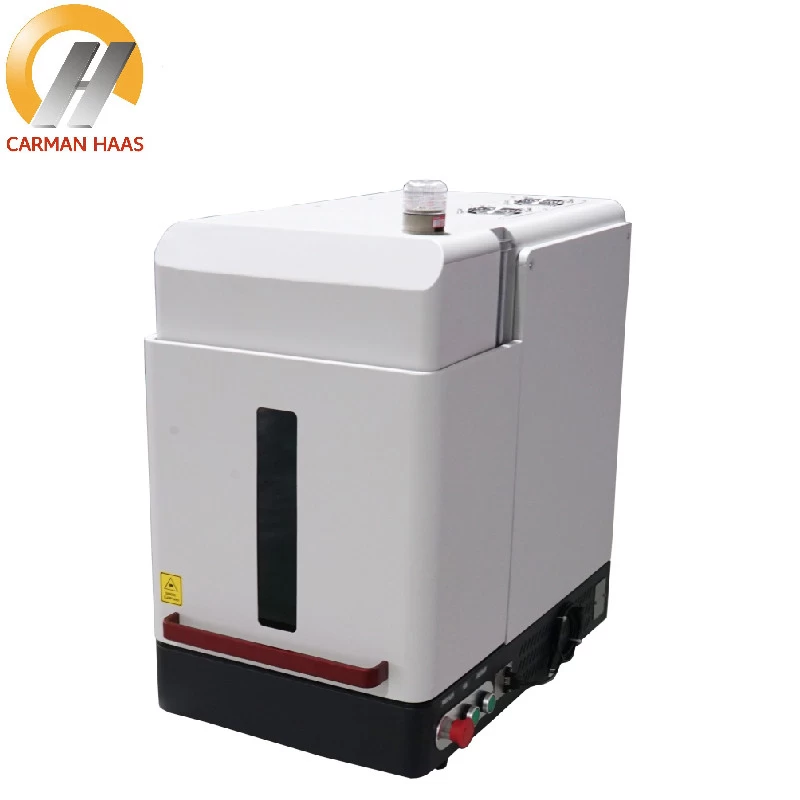
How to adjust the parameters of laser marking machine
There are more and more fields of laser marking machine. The laser marking machine is popular with people for its scale and high efficiency. The laser marking machine has a high degree of automation, As long as we adjust the parameters, he can work independently Up.
How to adjust the frequency and speed parameters of Fiber laser marking machine
1. Marking frequency, the number of pulses per unit time is called the marking frequency of the fiber laser marking machine. This is easy to understand. If the marking frequency is high, the laser dots will be dense, and if the marking frequency is low, the laser dots will be loose.
Although it may not be felt by the naked eye, if we put the marked place under an electron microscope, we can see after magnification, it is actually composed of many points in the eyes of a continuous straight line. The higher the marking frequency, the denser the laser dots and the smoother the marking.
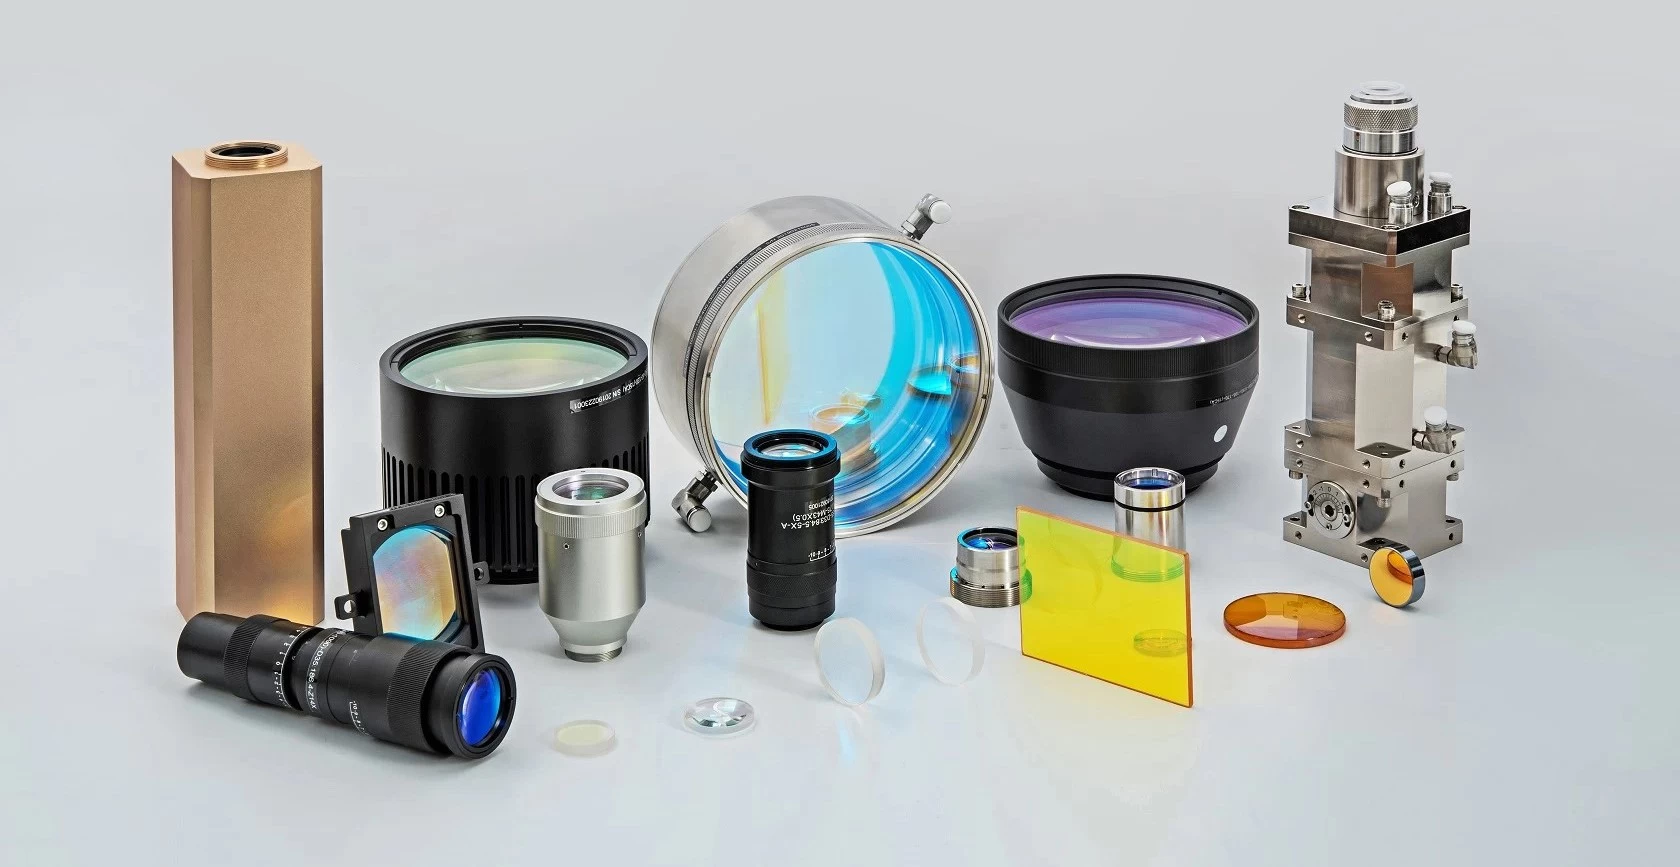
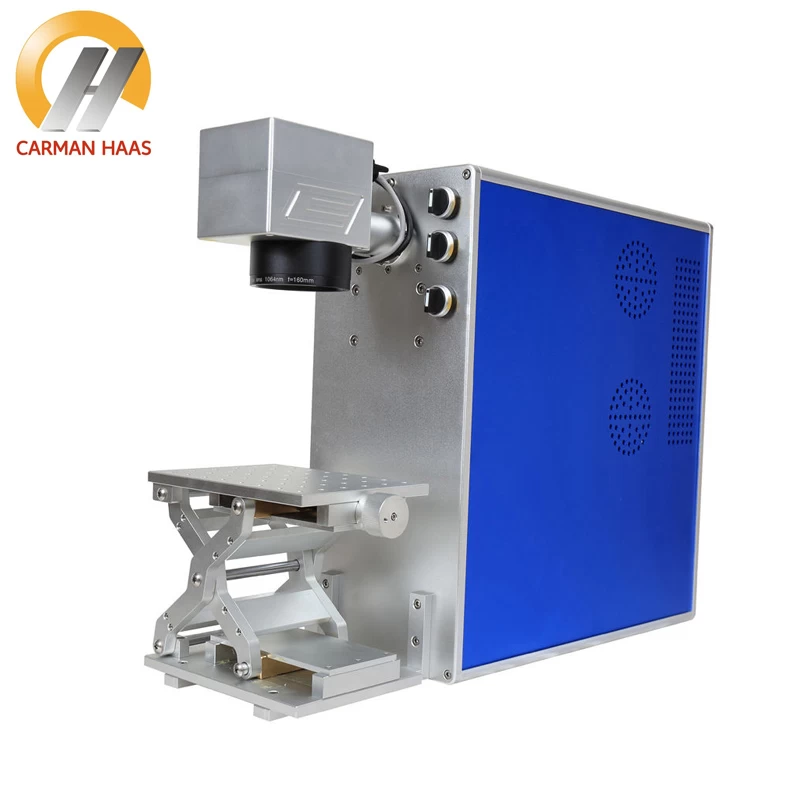
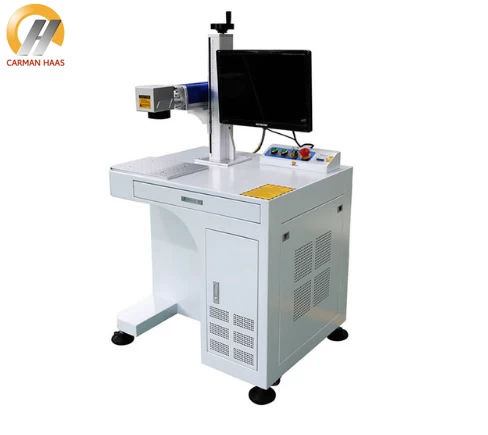
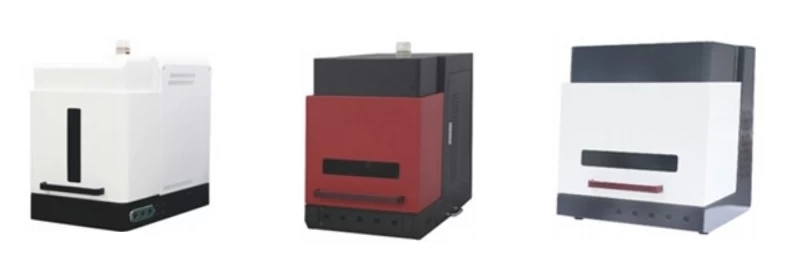
Laser Marking machine price china
2. Marking speed, here refers to the moving speed of the laser. This speed refers to the speed that can be adjusted in the parameters, not the overall speed of marking a product.
Because the overall marking speed is not only adjusted by speed parameters, but also affected by factors such as marking depth and marking area. The function of the parameter of marking speed is that under the condition of constant other conditions, the faster the speed, the faster the marking speed.
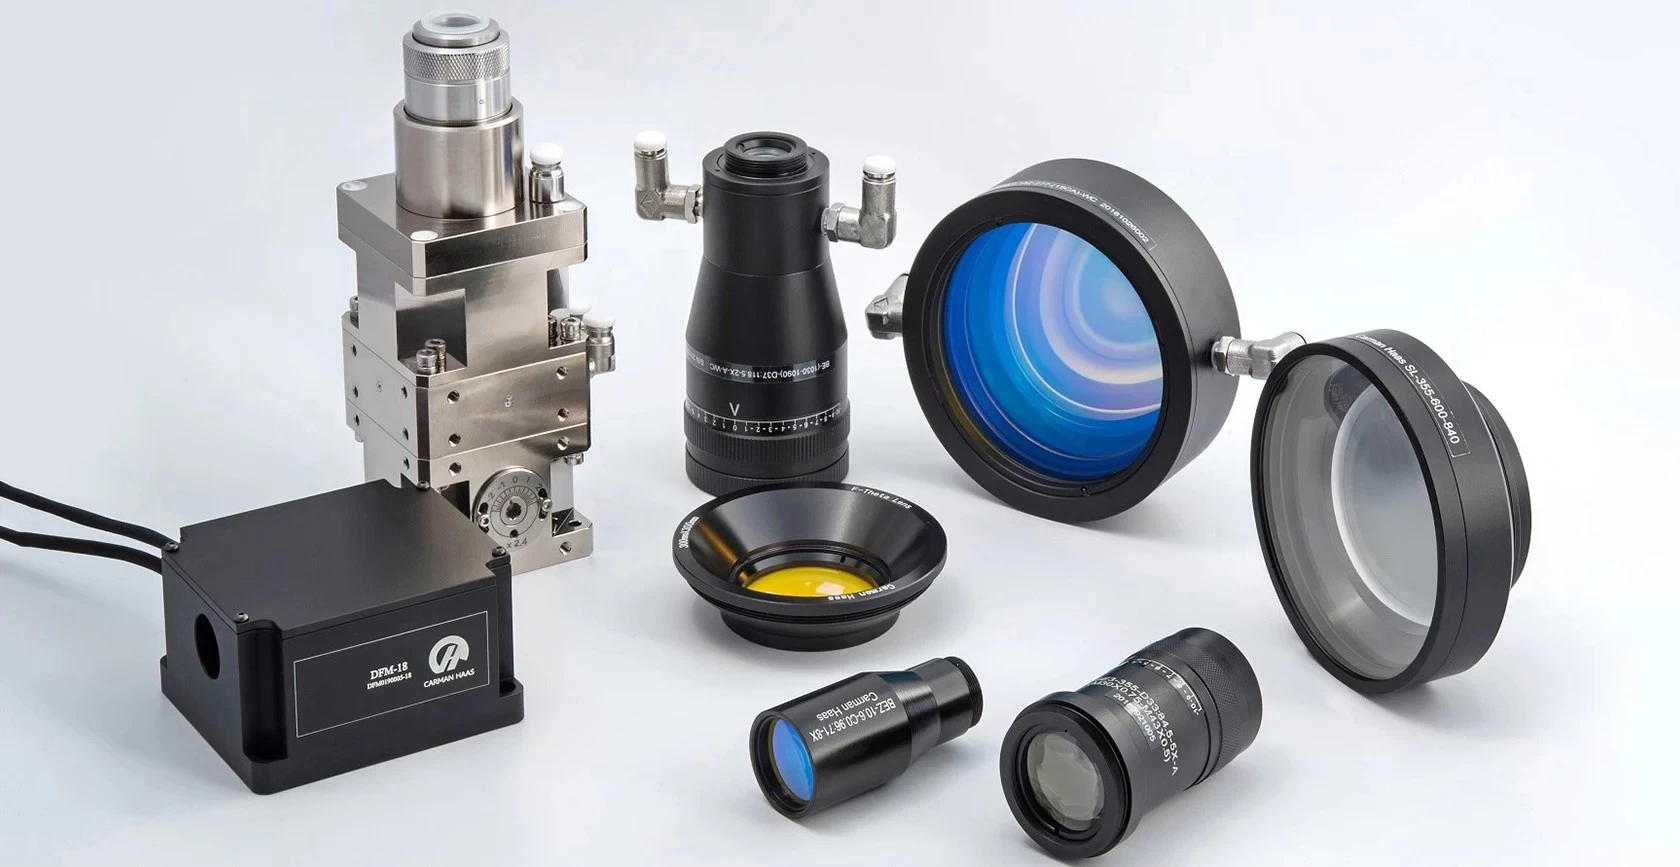
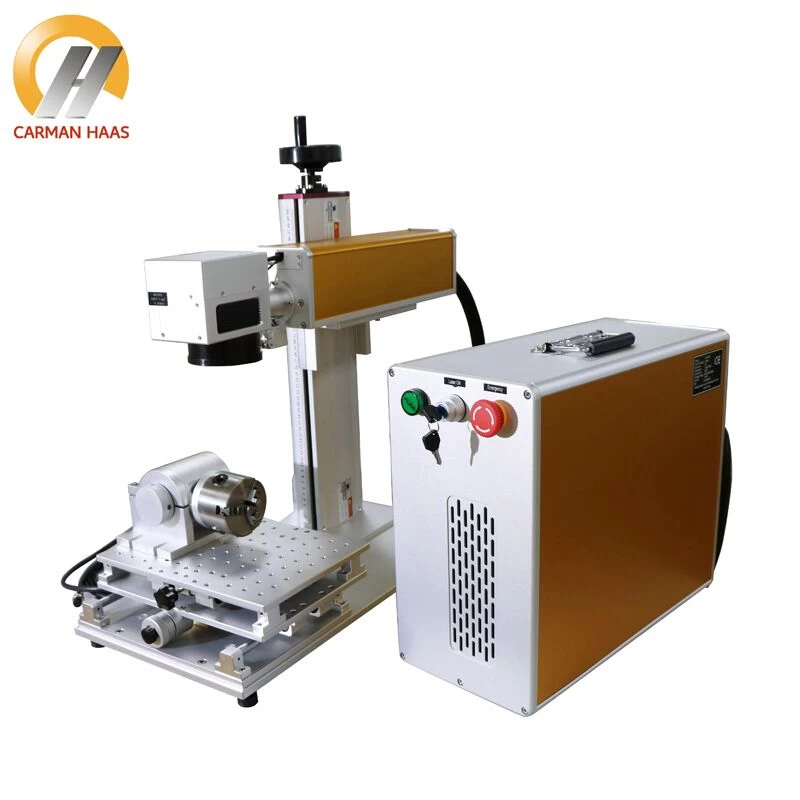
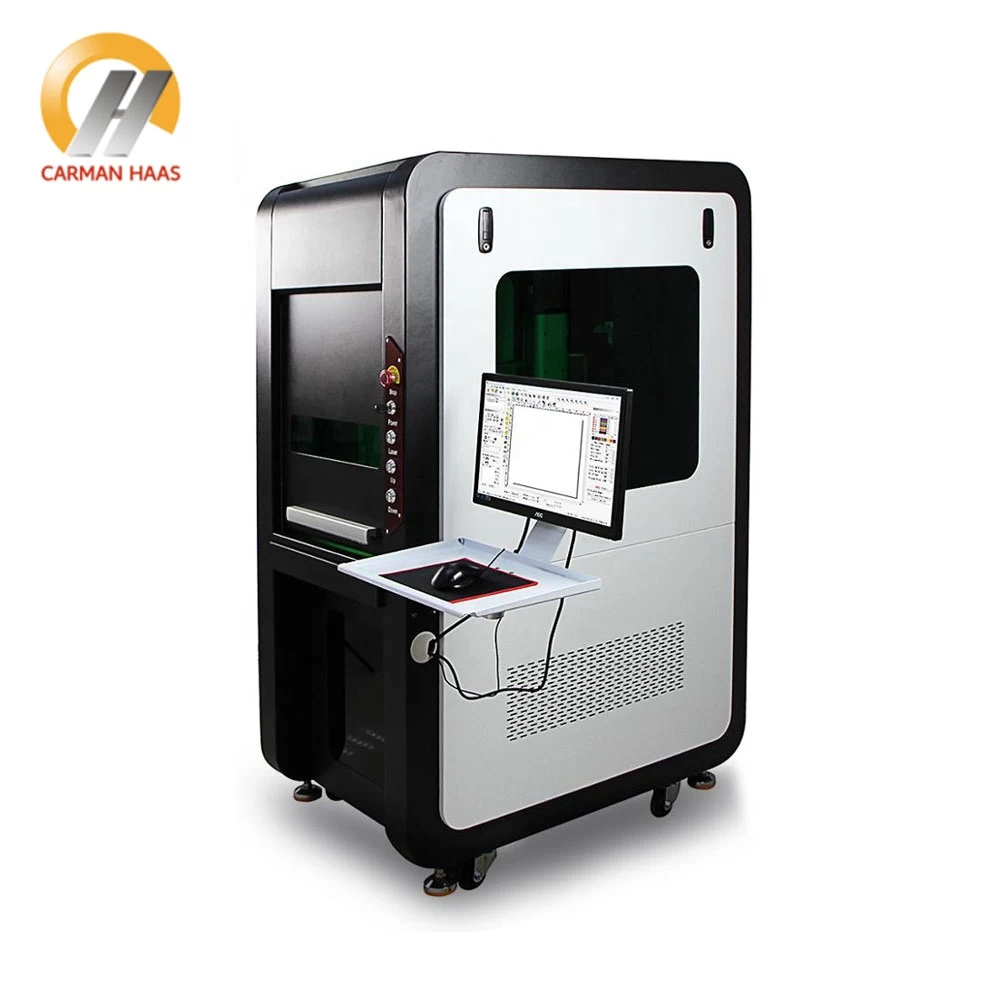
green laser marking machine in china
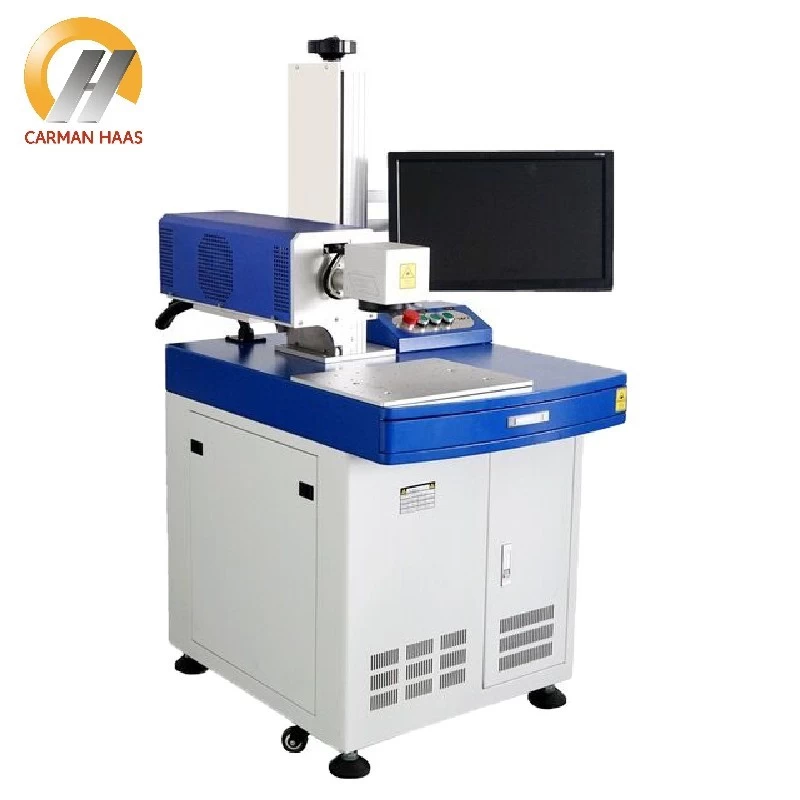
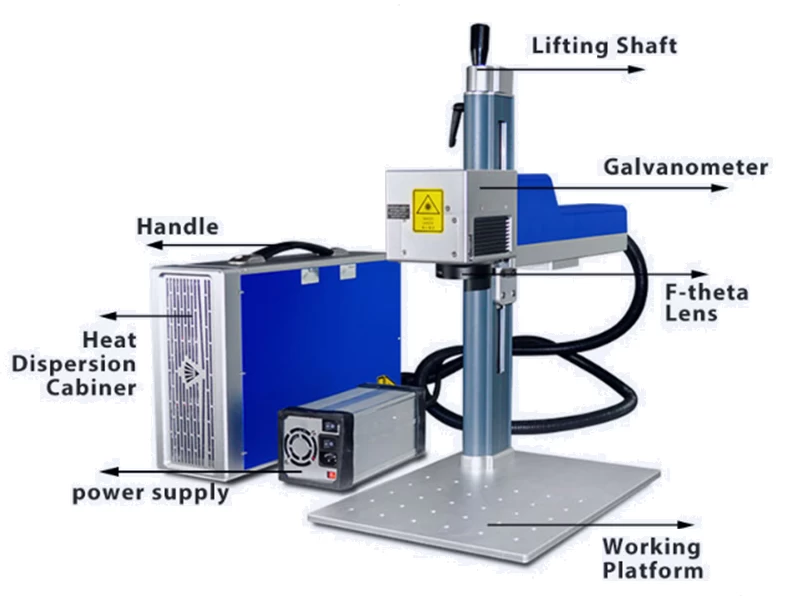
How to set the parameters of the marking machine
1. Galvanometer 1 and galvanometer 2 respectively represent two axes, X axis and Y axis, that is, horizontal and vertical
2. The target size is the size you set for marking, and the actual size is the actual size measured by your marking
3. Measure the actual size, and enter the result and set size.